For What Its Worth
CPP Master
Cylinder Installation
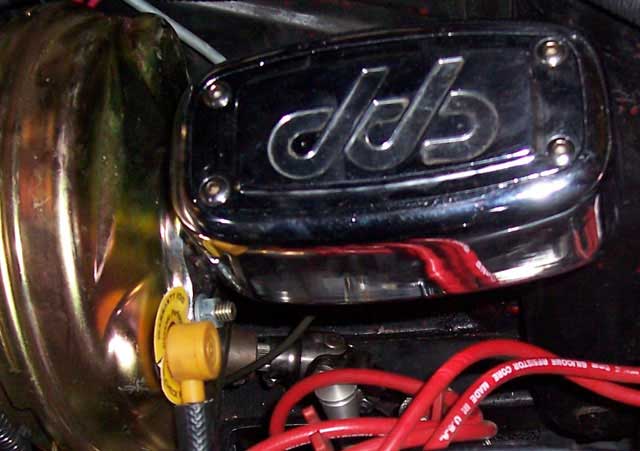
I used a CPP MCVP-1 master cylinder. It takes up a lot less room and has rear pressure adjustments built in.
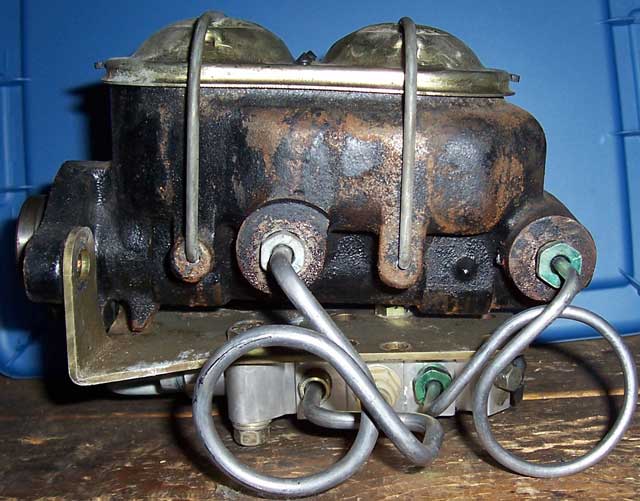
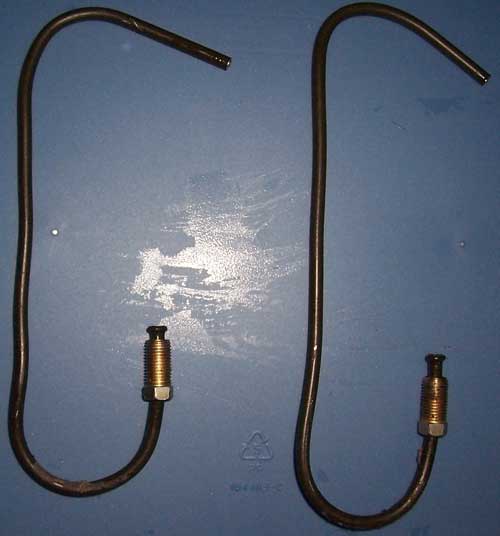
I bench bled the master cylinder in the car. After bolting it in, I hooked up 2 hard brake lines that are a C shape. They go back into the bowl about 2/3 of the way. The ends are submerged in the brake fluid. That way they don't pull air back in when the pedal comes up. They have to be bent to get them into the bowls and bent back out when done. Bend the ends back up before you unbolt them. Some use rubber lines, but I like the hard lines. No bumping them loose or knocking them out of the bowls.
Brake bleeding lines/tools.
I had my wife help with the brake pedal and it took about 10 minutes to get all the air out. Combination of full, slow pedal moves and quick, short little pumping. The internal valving takes more care than normal to get all the air out. CPP recommends a curve tip syringe to aid in getting the air out. See installation instructions on the MCVP-1.
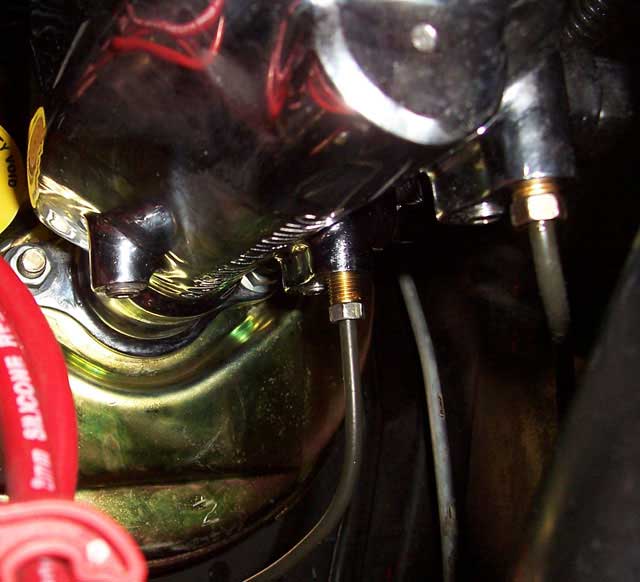
Another advantage of the MCVP-1 is it uses 3/16 line connections front and rear that exit under the master cylinder. No searching for all the special fitting sizes to make it work. The brake lines in the car are a lot cleaner with 1 or 2 bends less than normal.

I replaced 5 feet of the rear line since I wanted to re-route it. I used a hand vacuum bleeder to get the air out of the lines at the wheels. When I asked CPP they said a residual valve for the rear brakes wasn't needed if the master cylinder was higher than the rear brakes. I still have one in line for the rear drum brakes. If there are any problems I will update.
Once bleeding was done, the pedal was perfect.
Instructions for adjusting the car braking come with the master cylinder. In my case the rear pressure adjustment ended up cranked down about 1 1/4 of the 1 3/4 total adjustment of the CLW travel on the 1/8th allen screw adjuster. Only about 1/2 turn of the CLW travel left. 1/2-1/2 is 0, I didn't need to adjust the big screw. Read the instructions that came with the Master Cyl and you may understand the last 3 sentences. The pressure needed to lock up the rear depends on the brake size, type of brakes, slave cylinder size and the tires.
The stock style proportioning valves aren't adjustable so this is a big advantage if I change, tire size etc. All that is needed after a change is to redo the adjustment.
The car stops better than it did before. It is a much cleaner look in the engine bay. Also more room without the old proportioning valve and related lines. An advantage in the engine bay when there is a V8 in there.
Stock style master cylinder when there was power brakes needed a bump in the fender on a 1967 Chevy II. 1967 was the first year of the dual master cylinder. The CPP master cylinder was short enough I didn't need a bump. Also I don't need the factory clearance for assembly.
Back to the 66' Nova page