
Notes and Upgrades on the
MK3S, MMU2S, Archived.
June 2023, I have upgraded to the MK4 and the MK3s+ listed below will be upgraded to MK3.9 The MMU2 will be upgraded to MMU3 for use with the MK4.
I purchased a Prusa MK3S+ 3D printer, then the MMU2S multi color support. I strongly recommend upgrading all MMU2 units to MMU3.
Overall I like the Prusa and their is good support and a large community of users. It works well. Prusa is worth the extra money, but every price increase will move more people away. There is a balance between good function for most all users vs. the real picky ones like me. Many experiment with updates to improve reliability. I have used some of these updates. In some cases these updates take advanced post processing as in the welding needed for the X axis adjuster below.
I have built my MK3s+ printer twice. Once to the original specs and then once again when I added the upgrades. I know the components very well now.
Adding multi color printing with the MMU2S requires keeping the system in top tune. Hundreds to thousands of filament changes to print one color object requires perfect filament changes. Is this the best way to do it? No, it is the most economical for this class of printer. If you want perfect changes, eliminating the "dump" or color exchange extruding distance, the new Prusa XL class handles it better, but at almost 3x the price.
I have tested and tried many prints from short to all day printing. Overall the printer worked well but when it came to multi-color it soon had problems with filament changes failing.
The first problem was the MMU2S idler came loose at the servo mount. It caused havoc with the loading and filament feeding. "tighten but don't break" is not a great assembly method in my opinion. I printed and installed a new idler, with denser infill. Then when tightening the 2 bolts I added a fairly strong "Loctite" compound to keep the screws from coming loose. So far so good. I think this needs a redesign to use deeper, locking nuts to retain the bolts, but that may require welding steps to assure the nuts are locked in during post processing.
Then there was problems with the filament sticking in the hotend or MMU2S after it was broken, or even failed to break. After the break from the hotend the 1.75 filament has a small "bulb" on the end. This tends to catch and cause problems also. I got the filament changes working much better with many of the hotend and MMU changes below. They increased clearances, added guides or reduced "joints" in the filament feed.
It also took a new hotend heat-break tube and a firmware upgrade to keep the reliability up. Keeping the hot end heat-break tube clean and working well is crucial. I goofed and left the hot end on for a long time without moving filament. It baked some filament on the tube or scored the heat-break tube and that added to the filament change problem. The firmware upgrade listed below was also a major improvement. Allowing a quick, automatic method to calibrate the thermal settings in the hotend.
I also recommend that before removing the filament from the MMU to use the EJECT function on the printer. This will feed out the filament and allow you to cut the "bulb" off the end before you try to pull the filament out of the MMU.
Prusa recommends that when loading the filament you cut an angle on the end. This helps to guide the filament in. I have found that a point, almost sharp, is best. Something that might be done with a pencil sharpener. Since this is harder to do, cutting the angle on the end works most times.
Will the MMU2 work now changing colors? With the right colors. Using color combinations that break well. In my case I found black and blue worked well, but the red would not break consistently enough. I did not edit or modify the G code to correct this.
These are the mods I used and what I think their value is for
printing and daily servicing of the machine.
Most all my upgrade parts were done in gray PETG. The original parts are black.
Set the MMU2S horizontal. MinorThis allows better access to the MMU2S when the lid is open. It also keeps the PTFE tubes from the MMU2S out of the way. Also better for the sensor ball to drop. This was done in black.
Move the MMU2S board to be under the MMU2S. Major
Upgraded MMU2S selector Major
MMU2S reset button. Minor
Putting the control board under the MMU improves the wire routing is much cleaner over all and gives a little more room to some of the wires. Easier to see and access in my opinion.
The upgraded selector helps filament not jam. I did not use the modified selector cover. Some recommend leaving the ptfe connector screwed in loose for easy access if needed. I do not, it tends to unscrew all the way when in use in my experience.
Easy access to the reset button without putting something metal near the board.
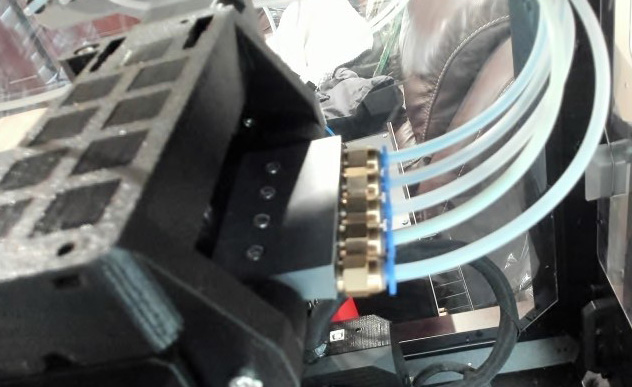
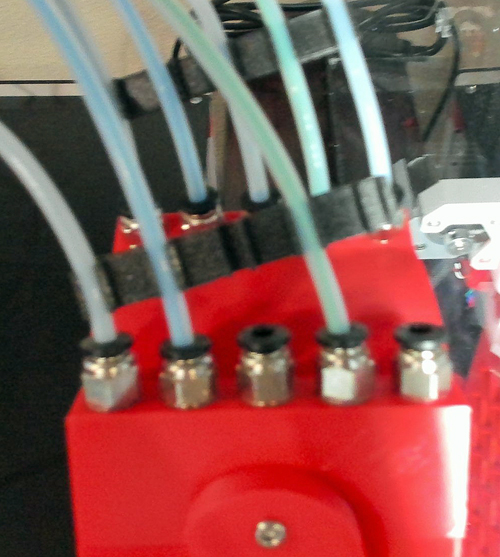
This allows easy connection/disconnecting of the PTFE tubes to the
MMU2S.
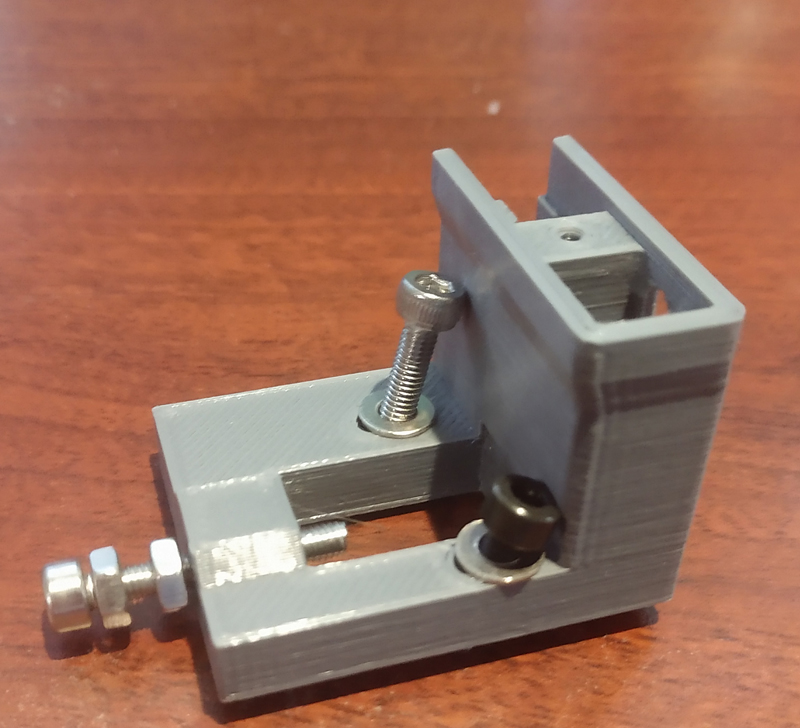
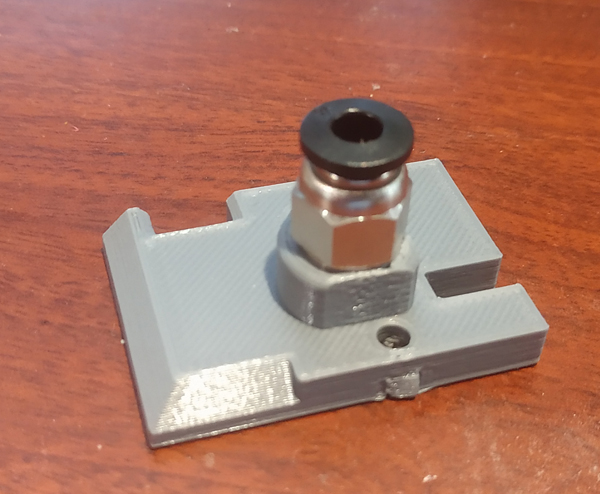
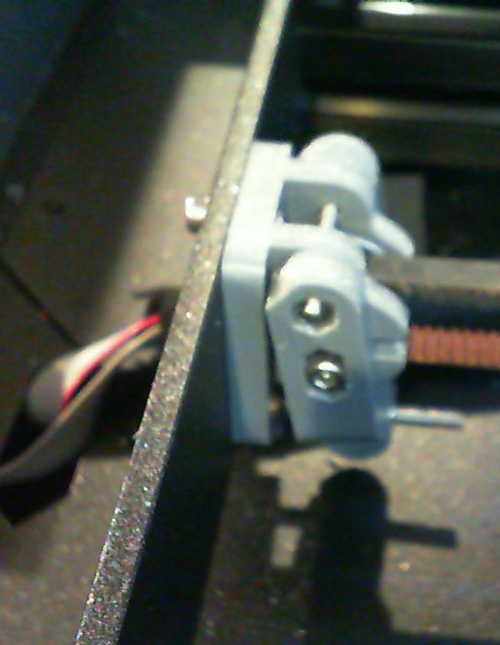
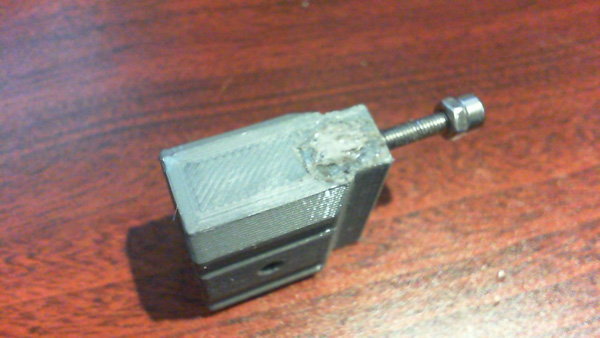
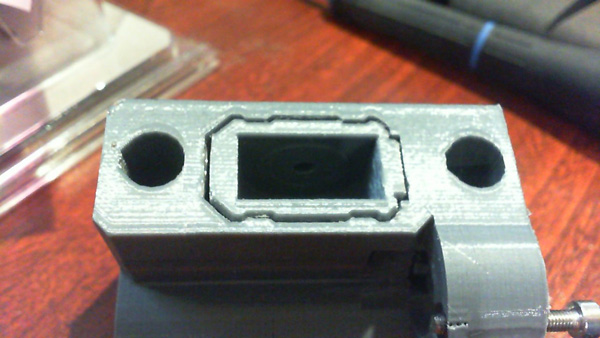
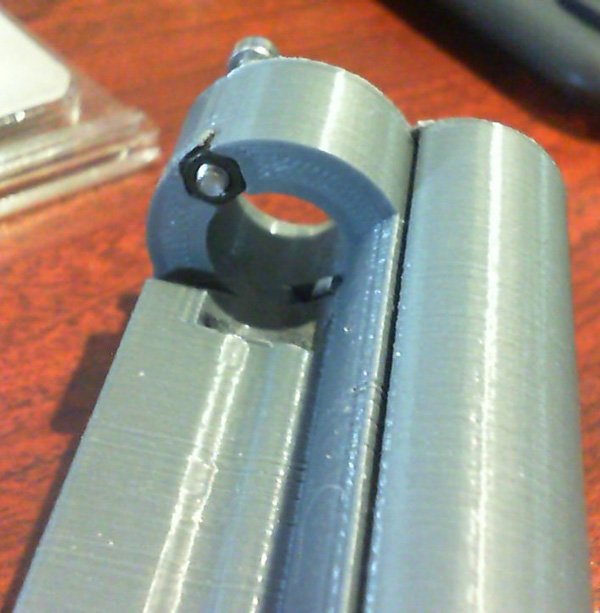
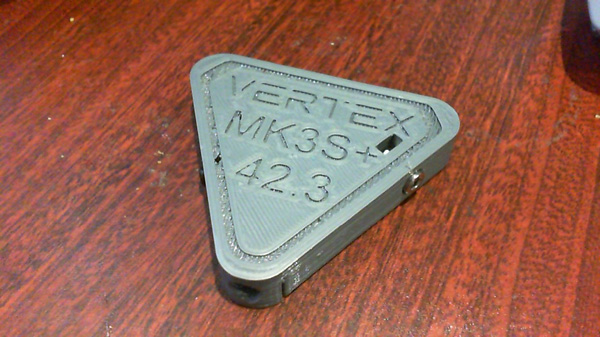
The MMU2 sensor body with a screw adjuster. Medium
Screw keeps things "adjusted" when I have to tear it apart and put it back together. I added the double lock nut to lock the adjusting screw in position.
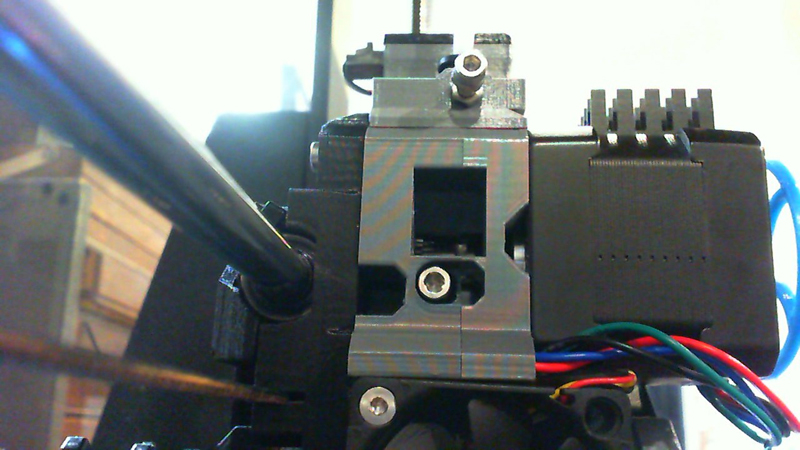
E3D V6 body upgrade to go with the standard no jam mod. Major
My system as the E3D V6 hotend. This allows using a PTFE tube all the way down to almost reach the hotend gear. This reduces catch points and allows the filament to move freely after break also. I use a 3mm ID tube to reduce friction.
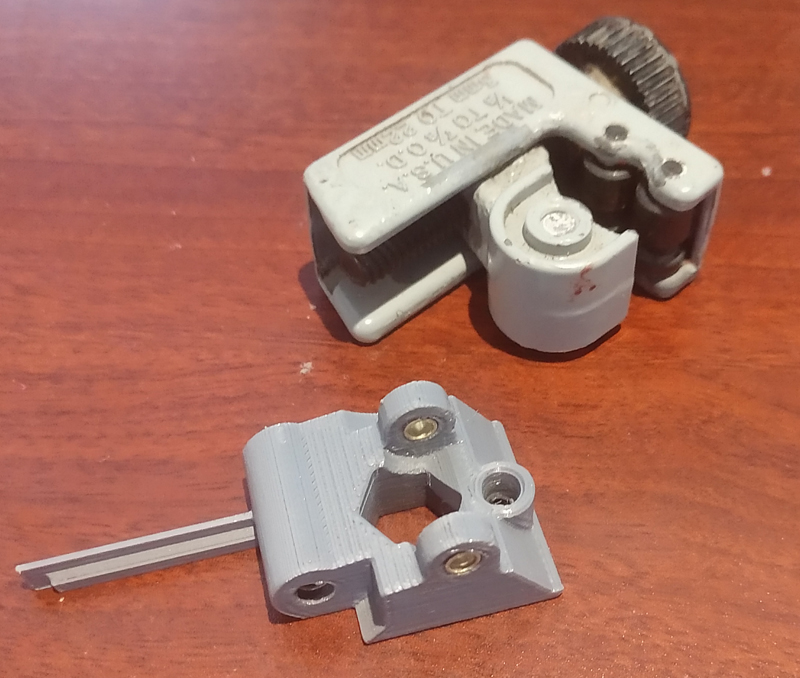
Reinforced extruder idler. Major
Adding brass tubing to the pivots keeps the idler from wearing oval holes and also allows free movement. I used 5/32" tubing. Close enough to the 4mm tubing. This picture also shows the tubing cutter to cut small lengths.
Hotend fan duct improvement Major
This X2 delta P duct was engineered to work well and provide consistent airflow, no matter the printing direction. Lights are a side benefit. I put in all 3 lights. The left one is clamped in when assembled, the middle and right one need to be glued in. The aluminum foil is a repair. A partial layer didn't stick well and leaked air. It was easier to glue on the foil than reprint.

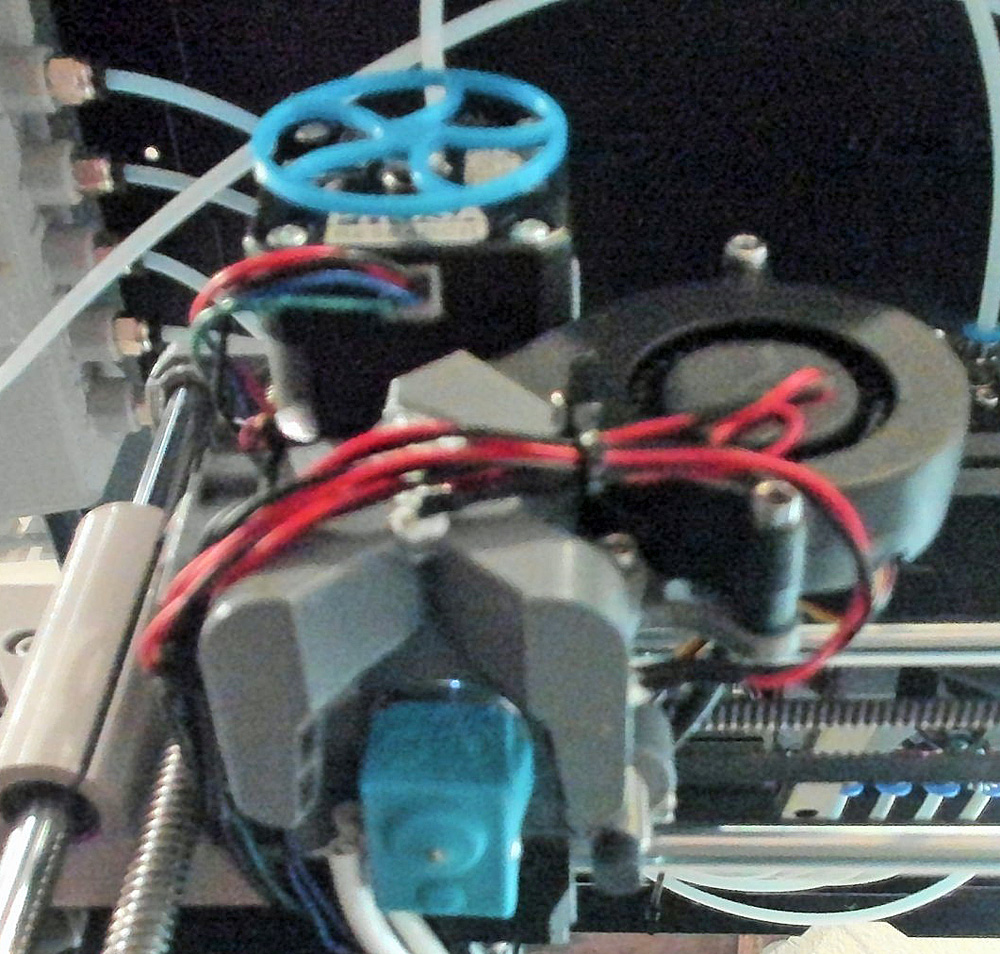
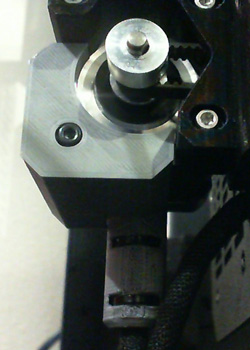
A sock for your hotend. Major
Putting a sock on the hotend helps to normalize temps and prevents bird nests and filament from being stuck to the hotend when printing failures arise. ALWAYS use a sock. This shows the blue silicon sock on my hot end. It can also prevent some accidental burns when working around the hot end.
This also shows a spinner on the filament gear servo. That is used to see the servo turning. Doesn't effect the print, but helps making sure things are working. Needs 2 magnets to attach it. Magents are specified when you find the "spinner" you want.
Y axis Tensioner upgrade Major
This makes adjusting the Y axis belt much easier compared to the stock design. It must be used with the companion Y axis belt mount which I think is an improved design.
X axis cable guide Minor
I thought this a good idea to prevent cable wear.
Bed heater Cable guide Minor
Another thing to help cables last. This was done in black.
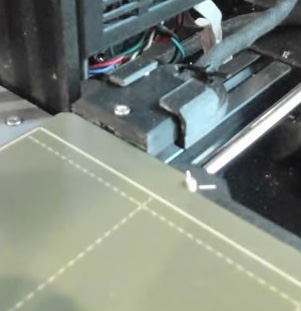
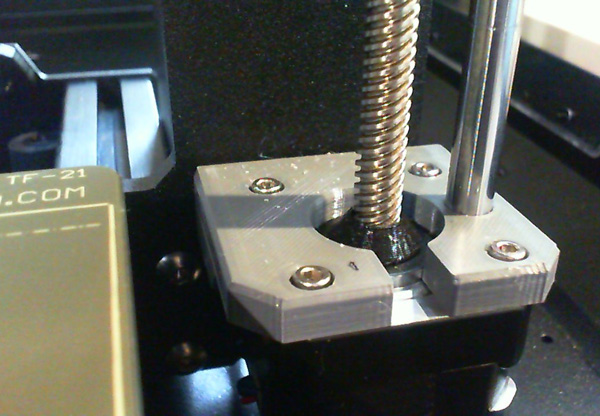
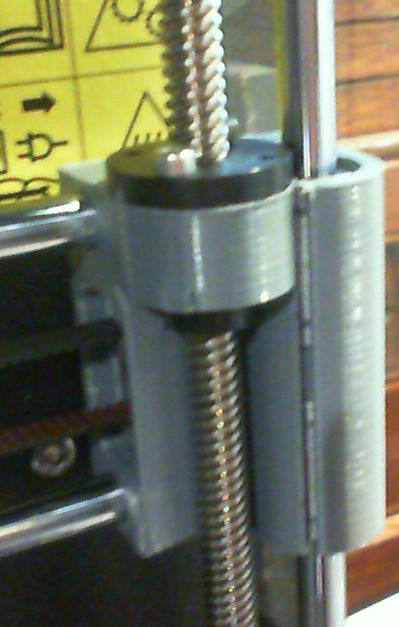
Z axis top mount with thru hole. Minor
This allows easy checking to see if top of Z axis lead screws are in alignment. The Z axis lead screw does not need a top bearing. It is best to leave the top free so there is no binding.
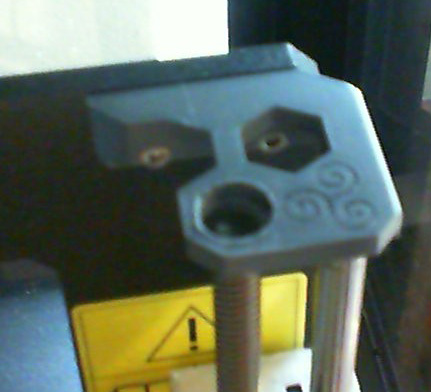
Z axis motor mount with a slot. Minor
This allows easier disassembly and assembly of the Z axis lead screws and servo.
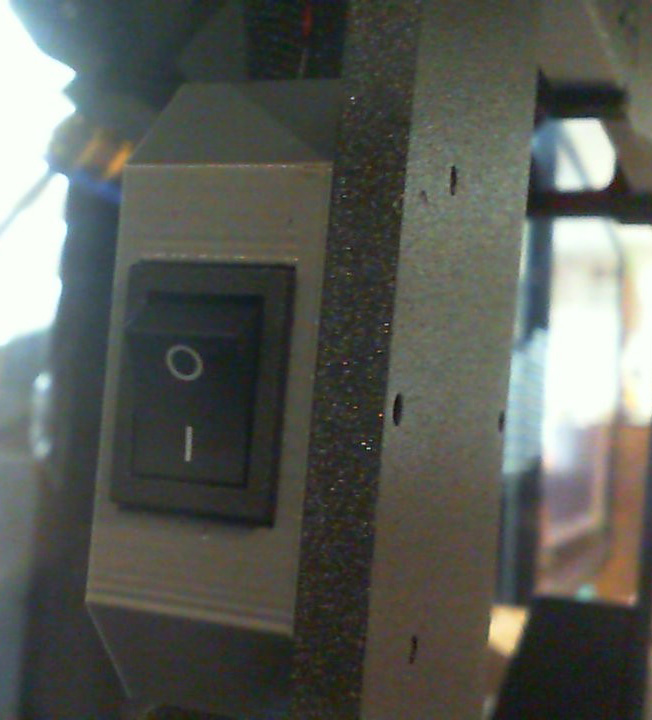
MMU2S disconnect switch. Medium
Use this to turn off the MMU2S and run the printer in single filament mode. I found the switch box was not deep enough to use connectors on the wires. Wires had to be soldered to the switch directly. Also if the Z axis is up too high, you cannot get to the switch.
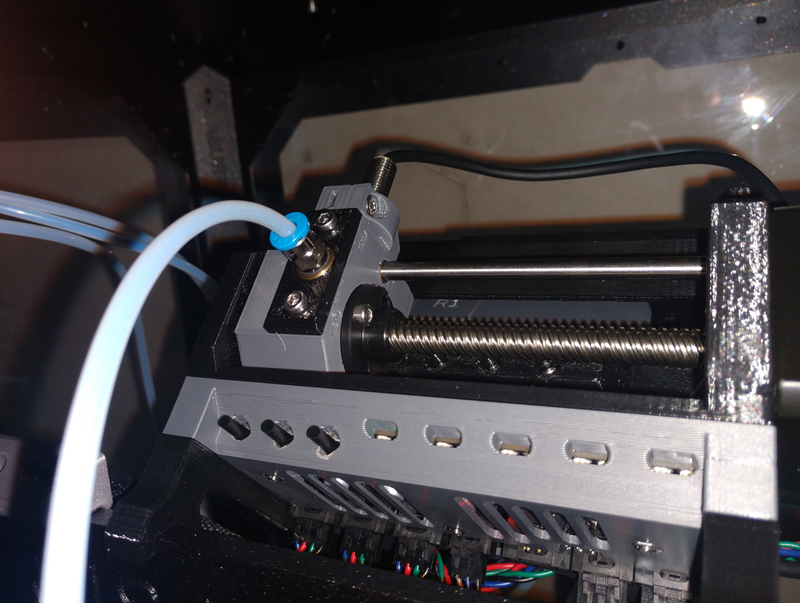
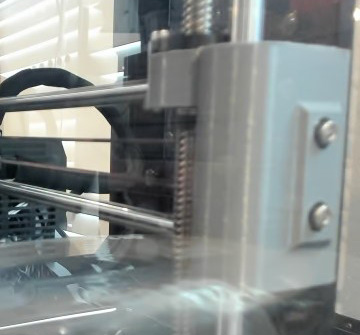
X axis tensioner and Z axis guide. Major
This allows setting the X axis tension with screws. Easier and easier to fine tune.
Do the anti-backlash nuts help? I have no data, but when new, they probably don't show much difference than the new nuts. Over time when a little wear begins, that is when they make a difference. Keeping Z positioning as tight as possible. Z seems smoother or quieter also. Probably adds a little load to the servos, but well within their capability.
When installing these anti-backlash screws, it is best to put the X axis on the rails, without the Z axis nuts attached. Then screw on the anti-backlash assembly to the lead screws. Then pull up the X axis and attach to the Z axis anti-back-lash nuts.
Z axis bearing spacer Minor
Just to assure the Z axis bearings stay in position.
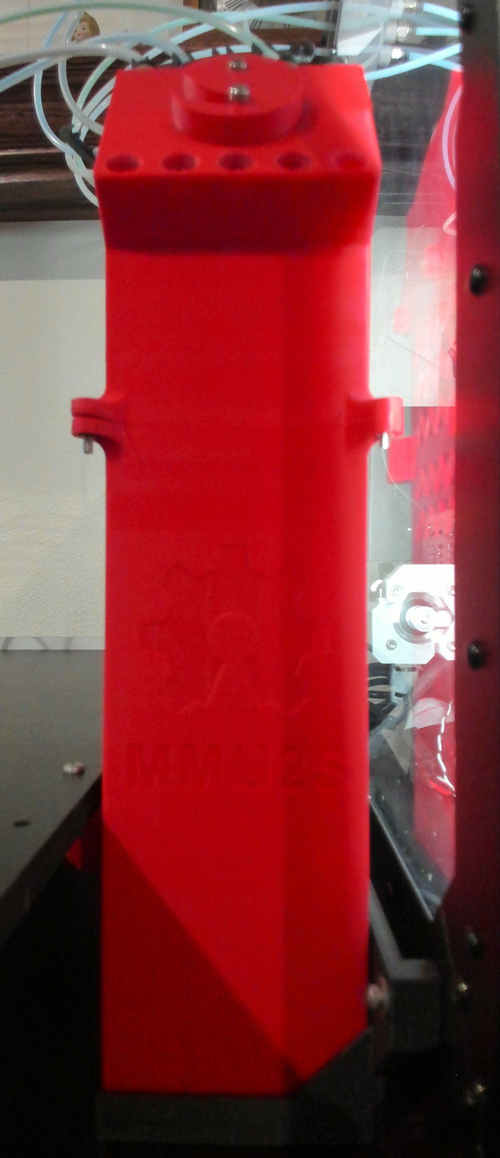
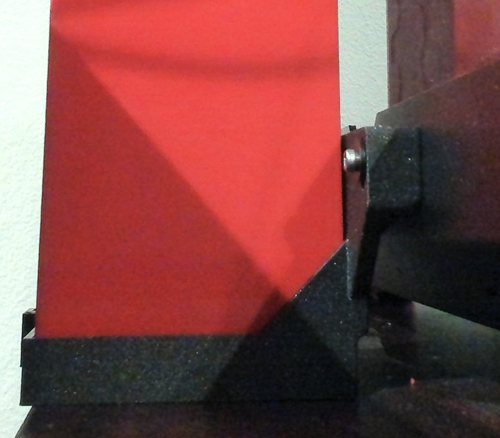
Buffer Medium
Buffer body , this Buffer Middle and this Buffer Top
I did not like the stock buffer. It was hard to load and access with a cabinet. I used the buffer base, middle and top from three different mods. Red in these pictures. The middle allowed feeding in from the front. I have since changed to use top feed in and out on this design. I find no difference in friction and the top in/out is easier to load.
I also added a mount for the enclosure I designed. It is black.
The Prusa slicer works well for me. I keep it up to date. 2.6.0 with Organic supports make removing supports from PETG feasible.
CAD modeling is use Solid Edge for Makers. Free unless you make too much money with it. I like having professional, well supported software. I tried many of the "free" CAD packages and got little out of them for the large amount of time they took to use.
Firmware Major Keep it up to date.
The MK3S+ firmware upgrade, 3.12.0 RC! has a major improvement in temperature mapping. It also adds a temperature calibration for the hotend. This calibration was a manual, mutli-step process before. Now it can be done in 10-15 minutes automatically. Needed for any hotend change of thermistor, heater or when adding a sock. It wasn't until this calibration was added that I could see consistent filament breaks with many colors without errors or clogging.
Friction in Filament feed Major
A single spool system, without a buffer, has little problems feeding the filament. When there is an MMU added, and a buffer, then there may be problems. As the filament comes off the spool, there is tension/twist in the filament. I have also had problems with the filament being "stuck" when it comes to the edge of the spool. In some cases the edge stick can lift the spool.
When there is too much friction, the extruder may slip, leaving gaps in the print. You may hear the slipping or grinding when this happens.
My best advice for an MMU system is
Test your system for friction, pull the filament through the system. If hard, find the problem.
Tools
E3D V6 Hotend PTFE tube Cutter. Makes it easy to make your own PTFE tube for a hotend. They aren't expensive, but shipping is, plus the wait. Must buy the manual Staedtler pencil sharpener outlined to get the blade and blade mounting screw.
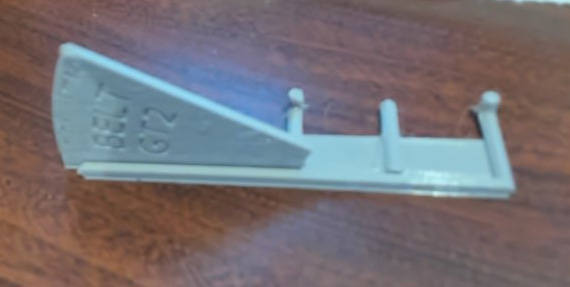
Belt Tensioner Gauge from Prusa. Makes setting belt tension quick and easy. This is G code you run directly.
Back to My 3D Printing
Last Update Nov 14, 2023