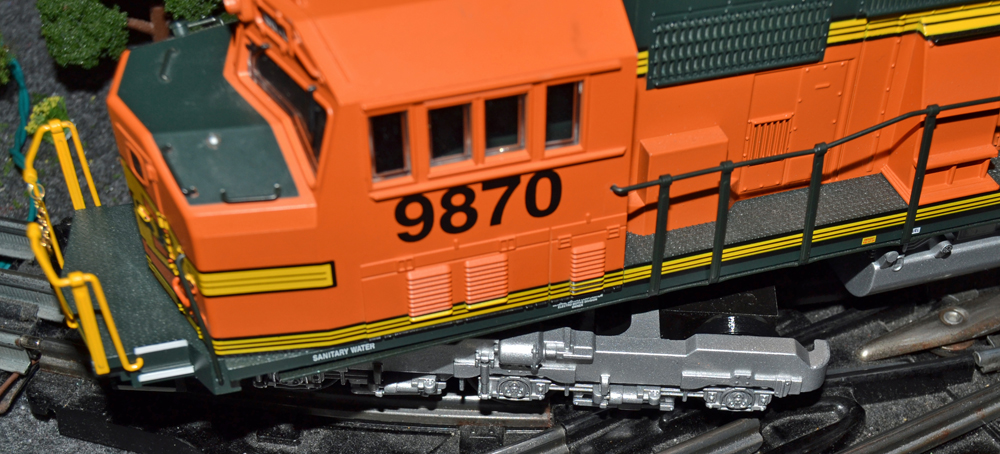
Notes on repairing the 18250 SD70 MAC and similar engines. 2000 era, dual DC motors, LED lights with TMCC
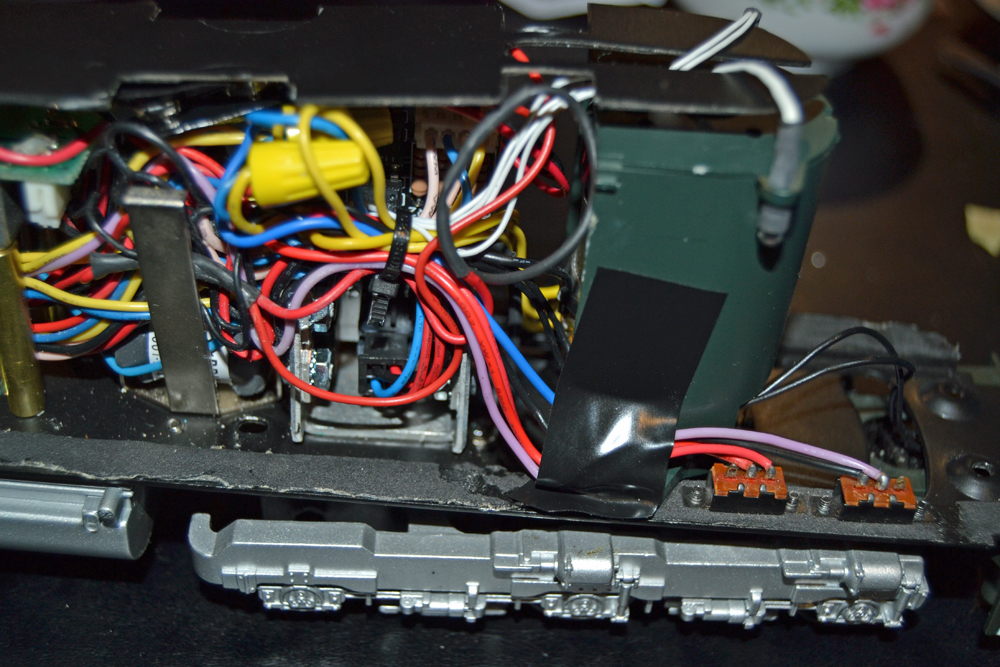
First have a roll of good electrical tape. Lots of cab wires are held with tape in the shell. You will probably need to replace the old tape with new when taking off the cab. One example of the wiring and tape needed before replacing the cab. There are many more in the shell.
This cab has some long posts for mounting the cab. 2 screws in the front, 2 rear and 2 in the middle. NOT the 4 for the middle fuel tank. Be careful removing these, not too much torque at once. When first removed, use some plastic friendly oil when putting them back in. Regular oil or automobile oil may make the plastic swell and be tighter! In my opinion some of the mounting points do not have enough support in the body. Reducing the torque needed for the mounting screws helps to keep from cracking them.
In the body there is a flat plate with 4 springs that is the contact for the lights. See the right arrow in the picture below for the contact in the frame. The long post that holds this often breaks. Since the post is hollow a long, threaded screw can be used to put it back together and re-enforce it when it breaks. I actually used a slighter smaller, longer screw so the post didn't crack. The long metal screw makes the post strong. This is usually the problem when the headlight and ditch lights in the cab don't work.
One problem that caused TMCC glitches and the engine to hang was the front pickup was not working/ This caused power drops at switches and control tracks. I noticed the lights flickering when this happened. The pickup wire had too much stress and broke where it soldered to the lug that screws in the top of the truck. I finally added 2" of flexible wire and the pickup now works well and isn't breaking again. The original wire was just too short once routed and held with a zip tie so the cab could be assembled. This wire connects with a bolt through the trucks, just behind the motor. The left arrow in this picture shows the location. It has to come out when removing the trucks also. To remove the trucks, the shell has to come off!

I needed to replace the traction tires, so the trucks had to come off. To remove the trucks there is one bolt connecting the trucks at the bottom. There is also the screw that holds the center pickup on that also must come out. The screw in the center of the truck holds it to the motor. During re-assembly, the center bolt goes in first.
When the truck comes loose, be careful don't break the coupler wires that are still attached.
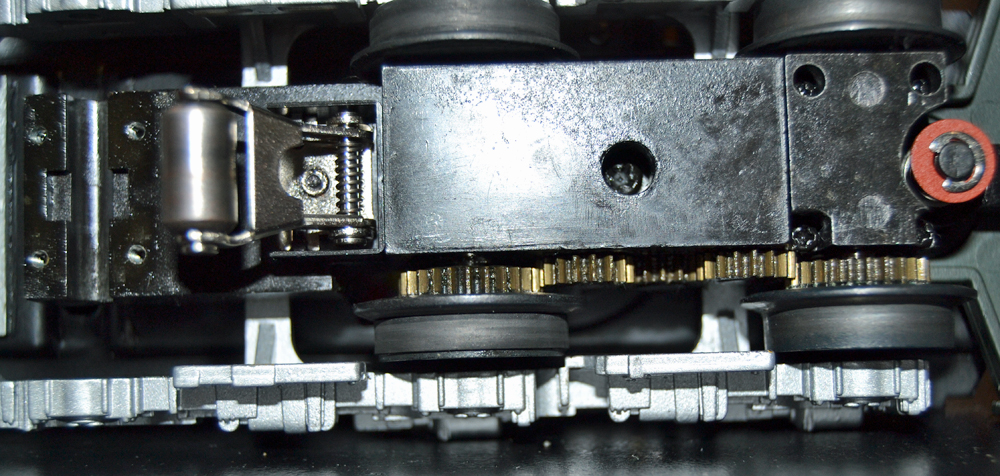
With the truck off the center wheels come out. These are the ones with the traction tires. This is the best way to get to the wheels to replace the traction tires.
The middle axle bearings have a flat spot that goes down to match the flat spot in the truck. If not aligned, it wont go back together correctly. Also replace the 20 year old gear grease.
For the front truck you may have to remove the hood around the motor that is held on with 2 bolts. This is so you can hold and align the motor as you put the truck back on.
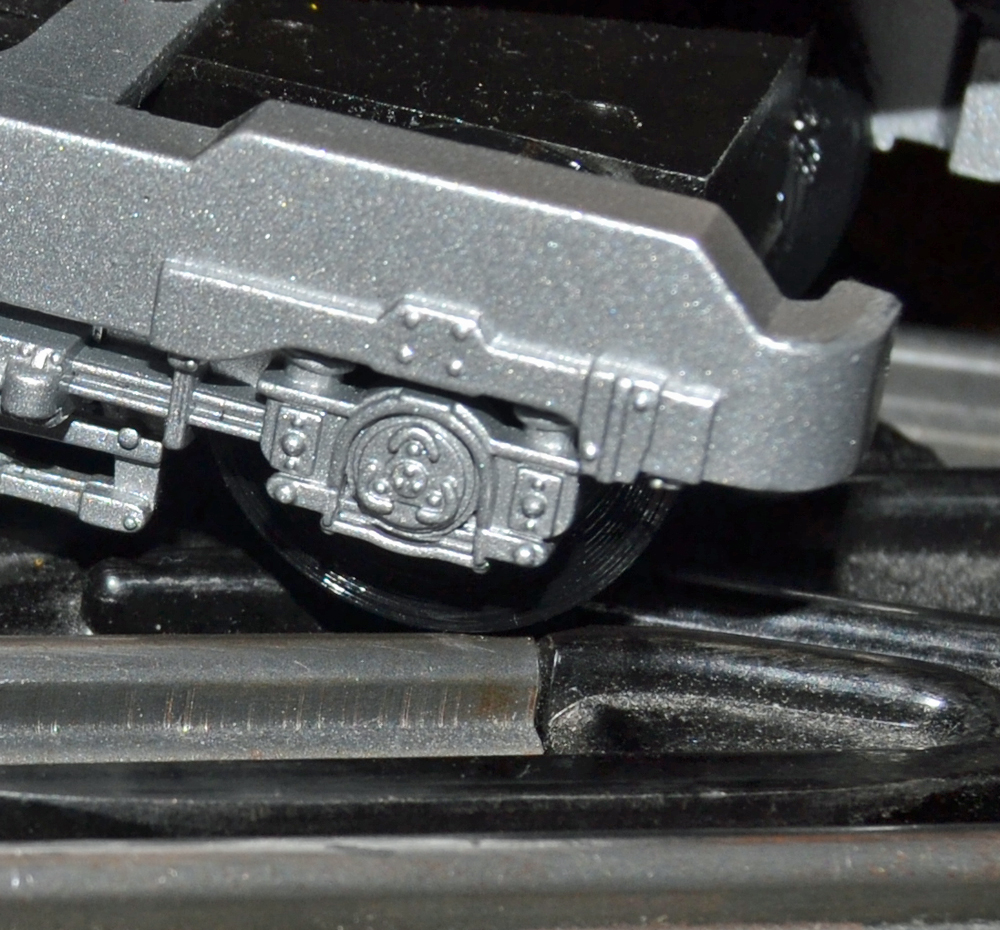
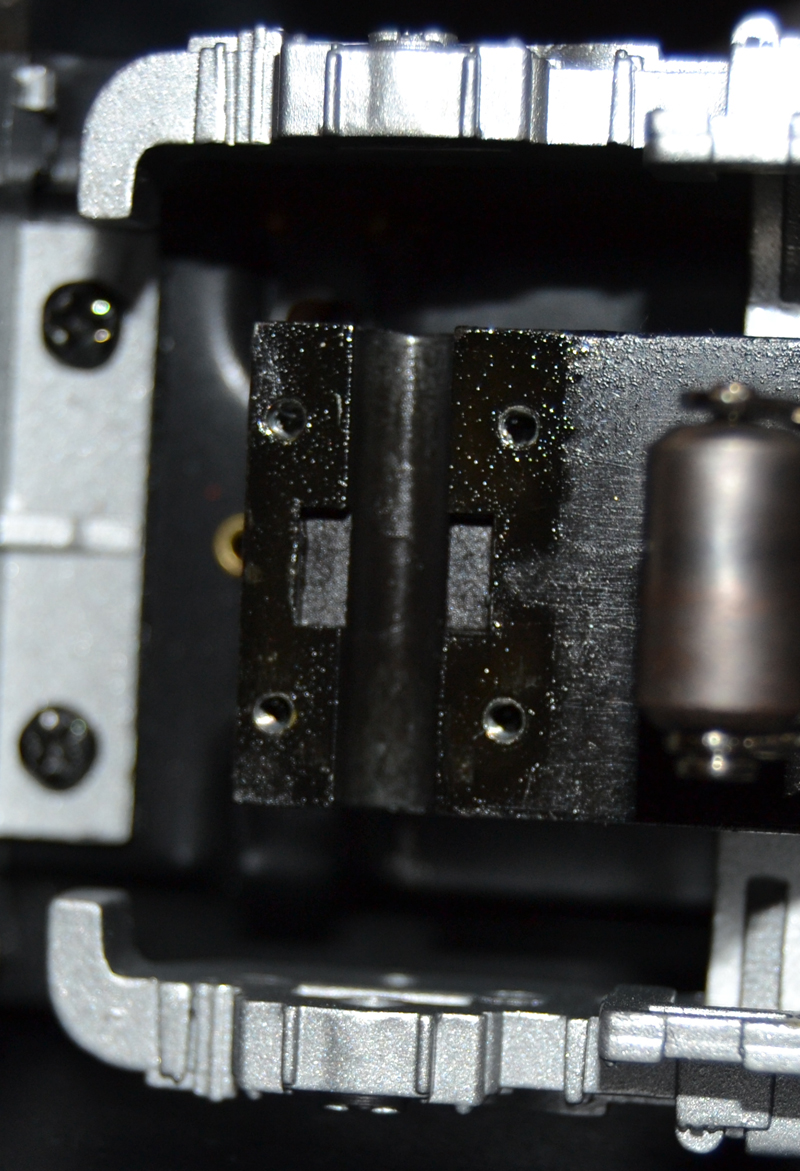
The second problem with TMCC reliability I finally tracked down. The trucks have 3 sets of wheels. 2 with flanges and 1 set without flanges. The set without flanges are just for show and overhang on turns. When going through the turn on O22 or 31" switches, the wheel overhang will cause these wheels to just touch the straight side, center rail. Sparks and a short. Momentarily unless you stop in that spot perfectly. Still not good for TMCC or the switch. I tested the engine running without these wheels. Worked fine.
This closeup shows where the wheel actually touches the center rail in the switch.
You don't have to remove the trucks from the engine to remove the front or back wheel sets on the trucks. You can take the front or back wheel sets off by removing 4 bolts holding the wheel set on from underneath. This shows the inner truck removed.
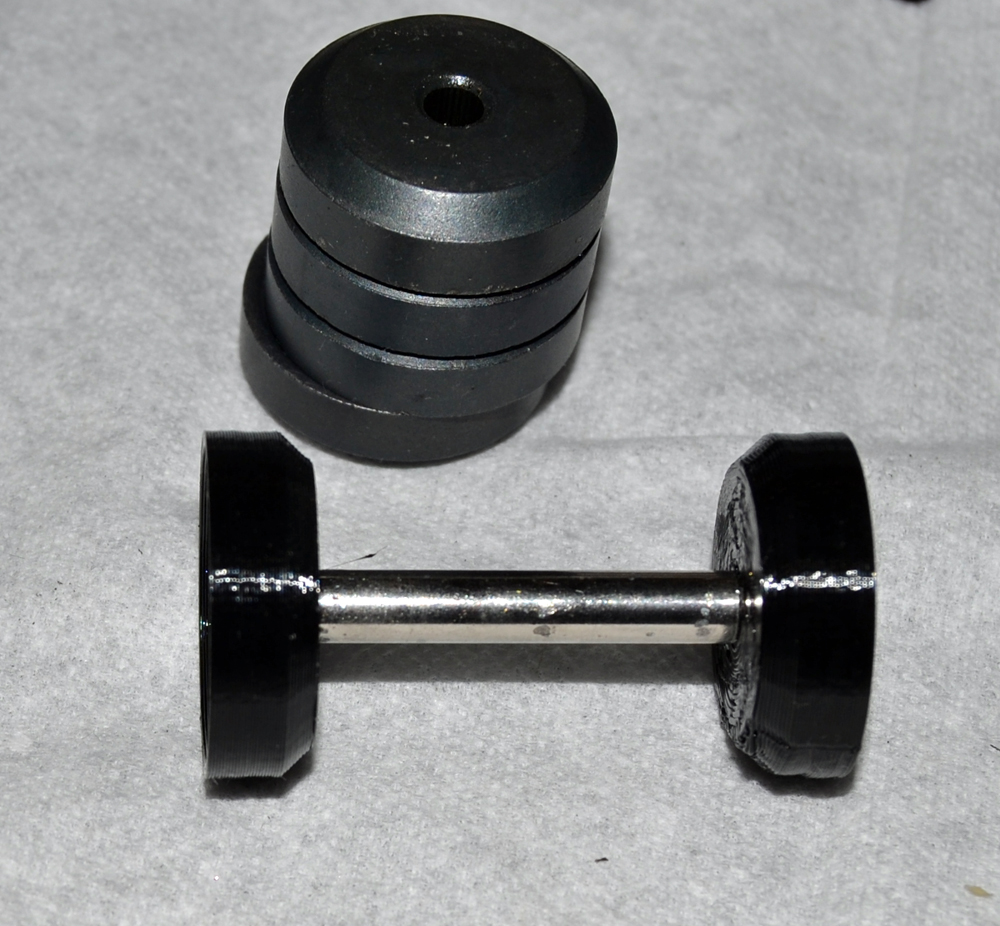
I drew up and 3D printed plastic non-flanged wheels to replace the metal ones on the inner wheel sets. The ones that overhang.
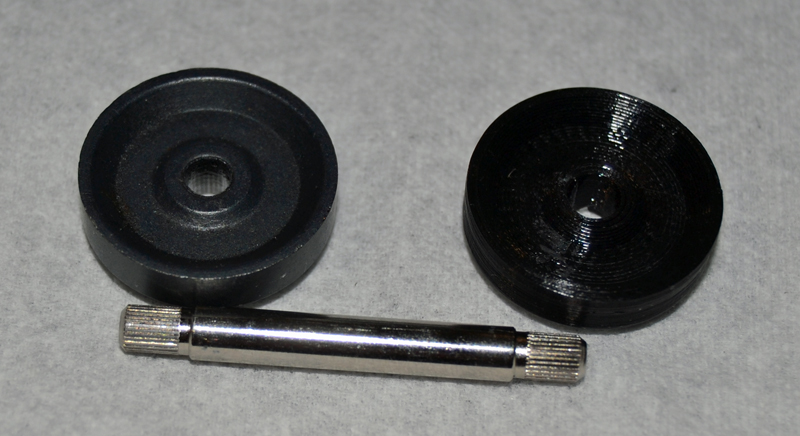
Now the wheels are there, but they wont short when overhanging on a turn through a switch. New plastic wheels mounted on the axle. Also the old metal wheels.
Now the engine runs well and no more funny problems with TMCC. Good power supply without intermittent shorts makes a difference.
If you knock the engineer out of his seat, he can be re-attached with glue once the shell is re-assembled. His window is open for him to slide in with tweezers.
Back to Main page.
Last update Jan 23 2023