For What Its Worth
Gas Pedal Updates
The "Cable" style pedal then the Camaro pedal install
After I put the 350 in the car the Gas pedal just didn't work quite right and I thought a Cable system would work better. The Cable part is from memory. The conversion back to a rod shown further down the page was just done.To attach the cable, you have to put a hole in the firewall for the cable. This is where many people do it. You can use 2 bevel washers to match the angle in the firewall. Or you can use a big hammer to flatten the area.
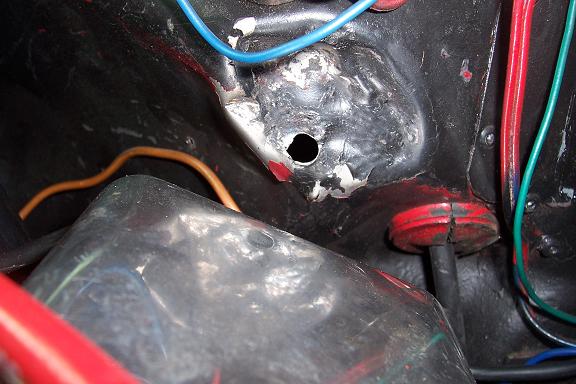
Why not put the hole higher and clear covers etc.? Wiper motor assembly clearance inside.
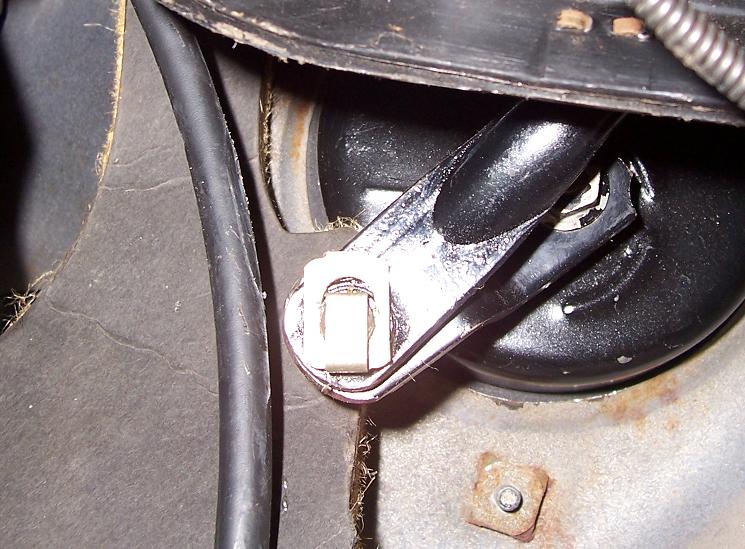
This is where I ground down the wiper motor shaft ends to get clearance. They were square and stuck out a little farther.
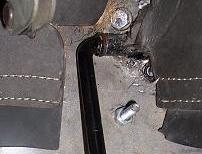
I used an aftermarket pedal. The Chevy II does not have a perfectly flat wall to mount it to so I made studs. Studs are holes in the sheet metal with a bolt & washer on the bottom and a bolt and washer on top. One I left in the car after I removed the cable pedal can be seen in the picture below, next to the new gas pedal.
Pictures of the pedal assembly etc. That is all the longer the cable ended up being with my carb & mount. I had to grind on the area where the clevis mounted to the pedal. There is not much standardization in aftermarket parts. This pedal angle to the pivot bar is adjustable on this model.
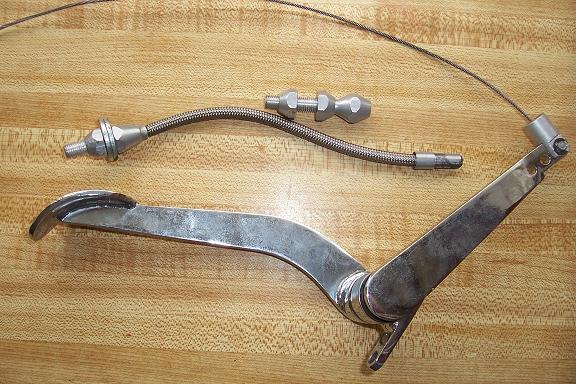
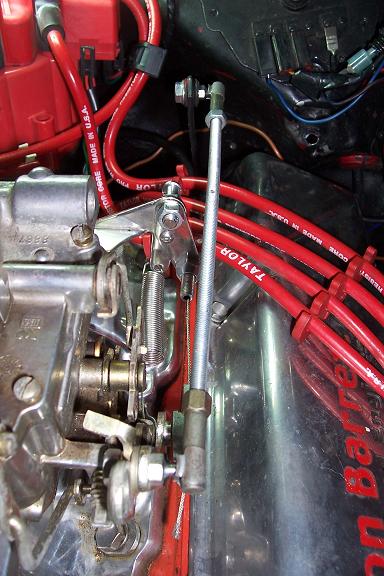
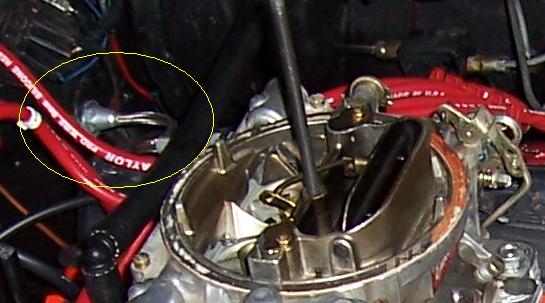
Did the cable work, yes it did. You can see how it looked in the engine compartment below. The cable was short, but even then the drag and feel for me was not what I wanted. The pedal was high, so I still used the stock pedal cut down a little on the top. Recommendation for those that must have cable, find a kit for the Chevy II and cross your fingers that it fits. Also the braided cable looks nice, but the plastic stock style cable housing may have less resistance.
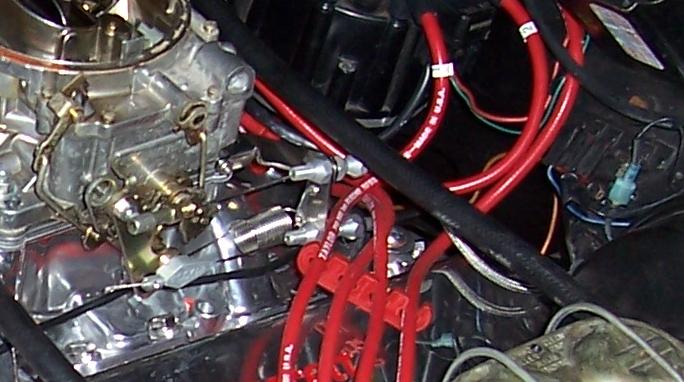
The "Camaro" gas pedal.
The gas pedal assembly from a 68-72 Camaro can be used. You will then have a modern style pedal. Just use the Chevy II Firewall piece. Makes it like all the cars I drive today, Yeehaa, away I went.
First off I have big hands. The people I have met with hands bigger than mine can be counted on my fingers. The engine is in. How do you get the firewall piece in? First you do what GM should have done. Weld the nuts on the mount.
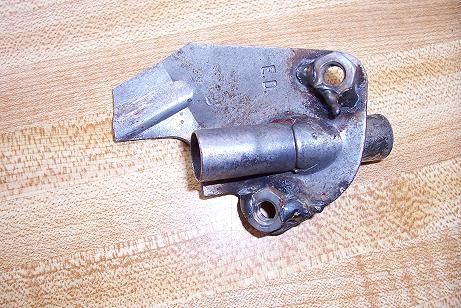
Then use the old gas pedal bar from inside the car. Put it in the mount from the engine bay side now you have a nice handle to hold the mount as you put it where it goes on the firewall, behind the engine. Just slides right in. Oh, I glued the outside bushing in also. One less thing to fight. A second person may have to hold it while you put the bolts in from the inside. Short ones! Long ones may rub on the V8 engine head.
Make sure the engine side throttle bar slides EASILY on the pedal "D" shaft before installing the pedal. You may have to put it on and off a few times before you bolt it down. You will have fewer verbal adjectives if it slides on easy.
Now put in the gas pedal and inside bushing.
The Camaro pedal installed. Now you can get rid of the pedal studs on the floor. Plug the holes with short bolts.
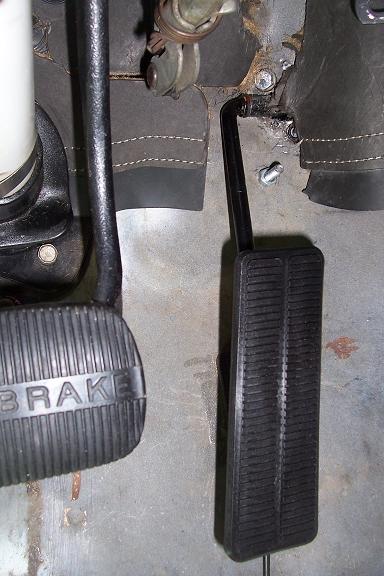
You have to tie the pedal in someway, or have someone hold it while you attach and work on the throttle bar. You may have to test and retest the bar to adjust it to clear valve covers and to get it where it needs to be at the top.
Old Chevy II pedal rod and Camaro pedal. The slight bend difference is OK.
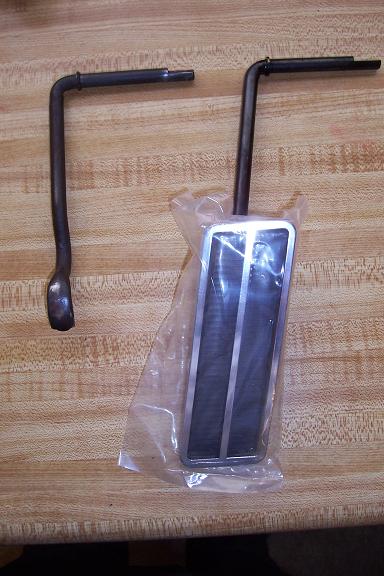
Pictures of the original (6 Cyl) and Camaro bar.
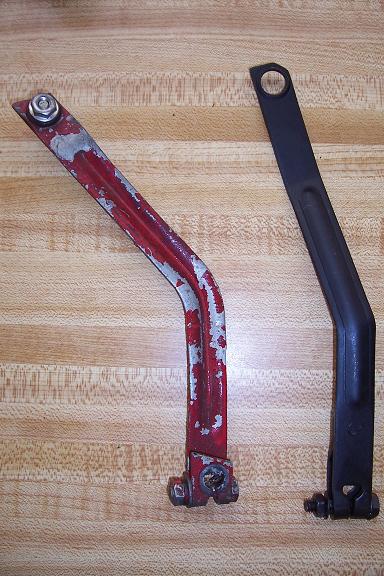
Picture of the Camaro bar after some heavy testing and sideways adjustment to make it work in the Chevy II. Compared to what I believe is one version of an original V8 Chevy II Bar. The net result is very similar.
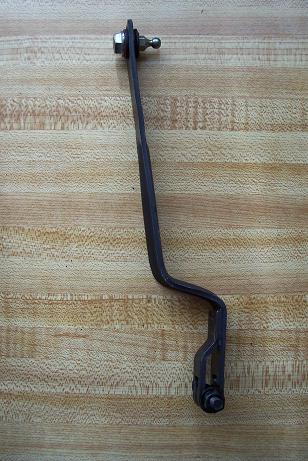
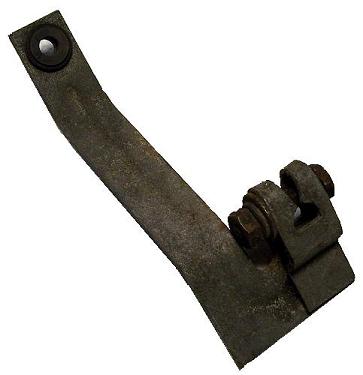
Once you have it adjusted, then bolt it in. Mine had the bolt welded in, great idea. Tightening the nut back behind the engine only took a few moderate adjectives. Mine was a 10mm nut.
If you want this for racing, You could weld in some small gussets where it bends almost 90 sideways 2 places to make sure nothing flexes. The adrenalin racing rush can cause all sorts of funny things.
Get a Rod, ends etc. and away you go... Also a little work to keep wires and other cables out of the way.
