For What Its Worth
Chevy II Idler Arm upgrade
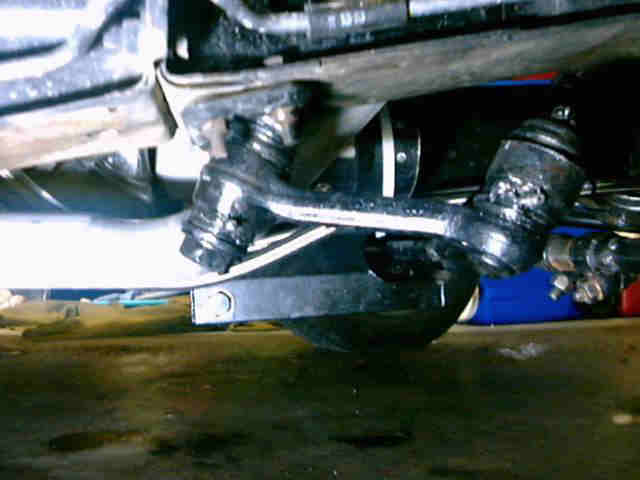
I put
in the
Chevy 2 Only
kit to upgrade the stock Chevy II idler arm. It worked
fine, don't get in a hurry and follow instructions.
You need a torque wrench and a vice with
soft jaws is handy. If you don't have a
vice some brass punches are good for seating the bearing races.
The
real problem
I had was getting the old rubberized bushings out.
They were not worn and didn't want to budge.
Took the idler arm and drag link to a machine
shop. They worked on it for an hour and couldn't get them out. The rubber wouldn't break but it would sure
stretch!! They dropped the Idler arm and drag link in the parts cleaner
they
clean blocks and heads in for a couple of hours. Parts
came out without the rubber in the
bushings, the remainder of the bushing was then easy to get out. The parts were clean and painted up
well. They look brand new.
They only charged me $15. (If you do this
make sure to tell them to Not take out the threaded shaft that needs to
stay in
the idler arm)
My drag link had extra material where the bearing races pressed in. I had to file it a little to get the bearings to seat/clear. When the factory cut the height or flat, there was un-machined material outside the machined flat. This did not effect the factory bushing but caused some problems with the new bearing and assembly clearance. Depending on the factory tolerances, targeting etc. you may or may not have this problem.
They
provide spacers to adjust the spacing in the frame end, but not the
drag
link. I guess the drag link rarely needs
it. I had to use both 'optional' spacers in my Idler arm.
Measure the drag link thickness against the
two races to be sure. It's easier to make
adjustments if you need to before you press them in.